Creating Groups and Custom Onboarding Forms
Groups are the foundation of volunteer, member, and staff management within the PlanHero Impact Plan. Each Group can represent a chapter, location, department, ministry, committee, team, or any other organizational structure used by your organization.
Each Group can maintain its own members, administrators, events, and onboarding requirements.
Creating a Group
To create a Group:
1. Navigate to your Impact Plan dashboard.
2. Click Groups.
3. Click Add Group.
4. Enter a Group name.
5. Upload a Group logo (optional).
6. Click Save.
Examples of Groups include:
- Downtown Chapter
- East Side Chapter
- West Side Chapter
- Executive Committee
- Volunteer Team
- Parent Association
- Youth Ministry
Once created, the Group will appear in your Groups list.
Accessing Group Settings
To manage a Group:
1. Navigate to Groups.
2. Select the desired Group.
3. Click Settings.
From the Group settings area, you can:
- Edit the Group name
- Update the Group logo
- Modify the Group description
- Configure onboarding settings
- Manage members
Creating a Custom Onboarding Form
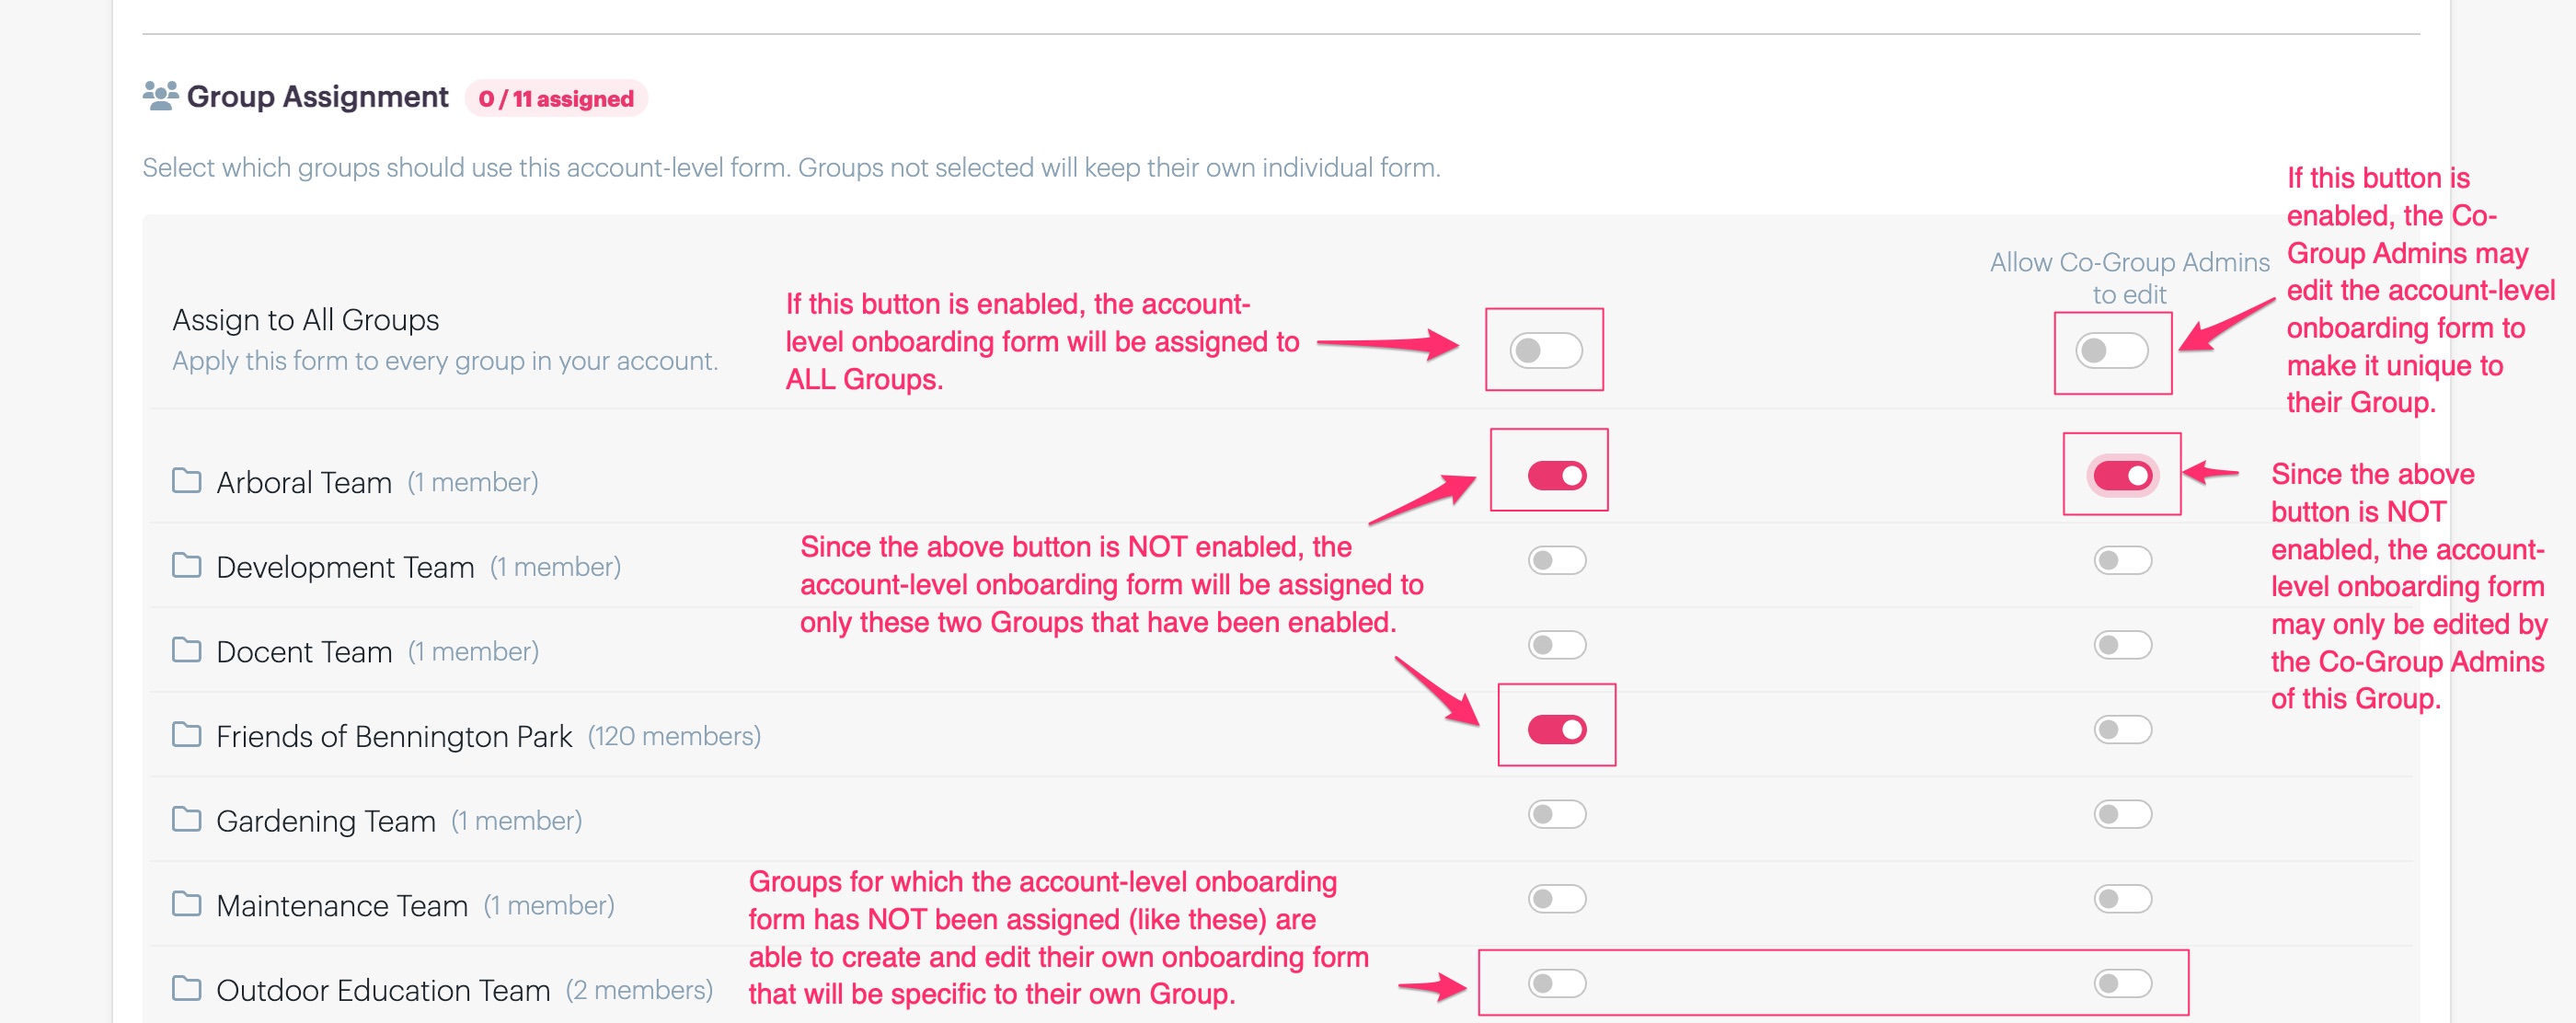
Each Group can have its own onboarding form. Alternatively, the account owner can create a single onboarding form and assign it to all (or only selected) Groups.
The account owner can assign the account-level onboarding form to ALL Groups or they can assign it only to specific Groups. In addition, the account owner can decide whether or not Co-Group Admins are allowed to edit the account-level onboarding form for their specific Group.
If a Group has not been assigned the account-level onboarding form, the Co-Group Admins can create their own Group-specific onboarding form.
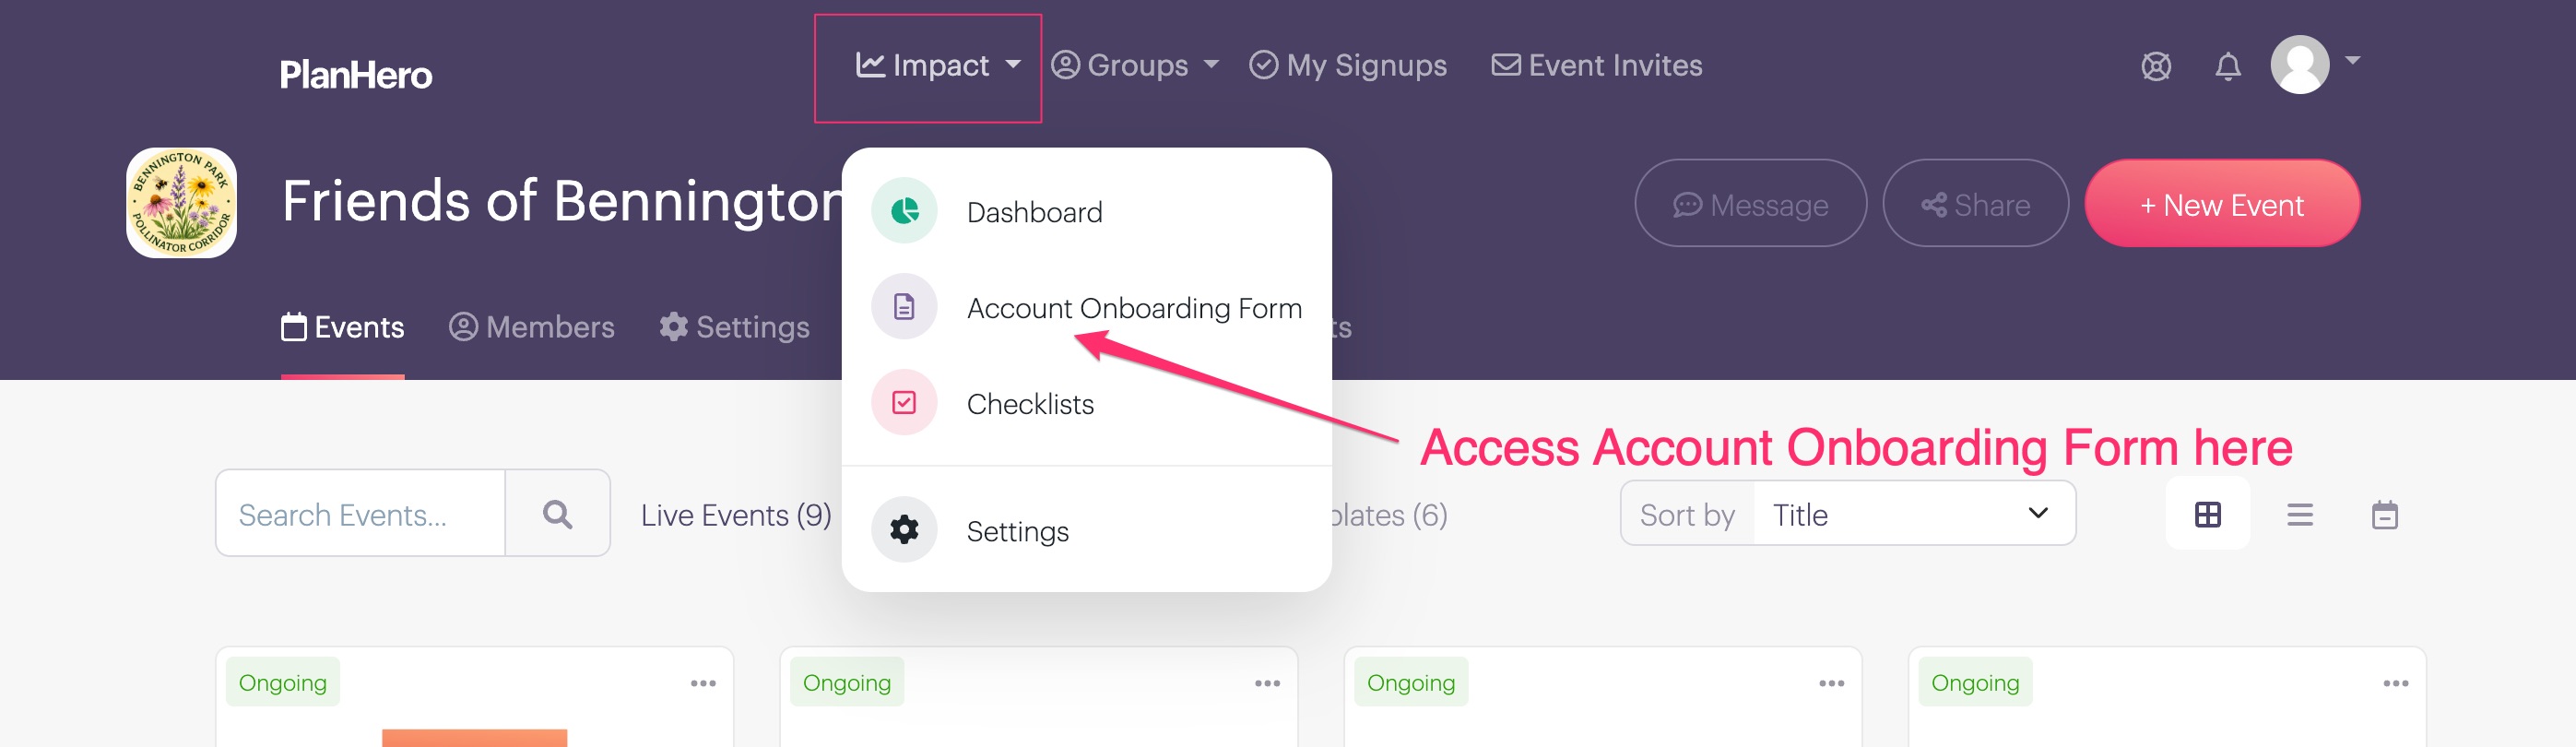
To access the Group-level onboarding form:
1. Open the desired Group.
2. Click the Onboarding Form tab.
3. Begin configuring the fields you would like to collect.
The onboarding form can be customized to collect information specific to your organization.
Contact Information Fields
PlanHero includes standard contact information fields such as:
- Mailing address
- City
- State
- Postal code
Each field can be configured as:
- Required
- Optional
Use the toggle next to each field to determine whether completion is required.
Collecting Availability
Availability fields help you understand when volunteers, members, or staff are available.
Examples include:
- Morning
- Afternoon
- Evening
- Days of the week
- Custom time periods
Organizations can customize availability options to match their operational needs.
Collecting Skills and Qualifications
Skills fields allow members to indicate areas of expertise or qualifications.
Examples include:
- EMT Certified
- Nurse
- Physician
- Teacher
- Driver
- Translator
- Event Planner
You can edit existing skill options or create your own.
Creating Custom Questions
PlanHero supports custom onboarding questions using several field types.
Multiple Choice
Members may select a single answer from a list of options.
Example:
Are you 18 years of age or older?
- Yes
- No
Checkboxes
Members may select multiple answers.
Example:
Which volunteer opportunities interest you?
- Events
- Fundraising
- Administrative Support
- Community Outreach
Dropdown Lists
Members may select a single option from a dropdown menu.
Example:
Preferred Volunteer Location
- Downtown
- East Side
- West Side
Custom questions can be marked as required or optional.
Adding Waivers, Agreements, and Consent Forms
Organizations can require members to review and acknowledge agreements during onboarding.
Examples include:
- Liability waivers
- Media release forms
- Volunteer agreements
- Parent consent forms
- Code of conduct acknowledgements
To add an agreement:
1. Navigate to the Onboarding Form tab.
2. Add an I Agree field.
3. Enter the agreement text or upload a PDF document.
4. Configure whether acknowledgement is required.
5. Save your changes.
Optional vs. Required Agreements
If the agreement is optional, members may skip it and continue onboarding.
If the agreement is required, members must acknowledge the agreement before completing onboarding.
Note: Consult your organization's legal advisor regarding any agreements, waivers, or consent forms used within your onboarding process. PlanHero is not responsible for the legality of these agreements - neither in content nor in the format to which they are agreed.
Sharing Your Onboarding Form
Once your onboarding form is complete, PlanHero generates a unique onboarding link for the Group.
To share the onboarding form:
1. Open the desired Group.
2. Navigate to the Onboarding Form tab.
3. Copy the onboarding link.
The onboarding link can be shared through:
- Email invitations
- Volunteer recruitment campaigns
- Organization websites
- Member newsletters
- Church communications
- School parent portals
When individuals complete the onboarding process, they are automatically added to the Group.
Frequently Asked Questions
Can each Group have its own onboarding form?
Yes. Each Group can maintain its own onboarding fields, custom questions, waivers, and requirements.
Can I create multiple Groups?
Yes. Organizations can create multiple Groups to represent chapters, locations, departments, committees, ministries, teams, and more.
Can I upload a PDF waiver?
Yes. PDF documents can be uploaded and presented during onboarding.
Can I require members to accept a waiver?
Yes. Agreements can be configured as required before onboarding can be completed.
Can I add the onboarding form to my website?
Yes. Simply copy the onboarding link and place it on your website, volunteer page, or recruitment page.
What happens after someone completes onboarding?
The individual is automatically added to the Group and their onboarding information becomes available to Group administrators.